How to edit Prerecorded camera
Language:English / 日本語
Author is Jonaeru.
Thanks SubDrag for teaching me.
See also http://www.shootersforever.com/forums_message_boards/viewtopic.php?t=6027
Installing the necessary software
Procedure
Put fbxsdk-2013.1.dll
The need for exporting FBX file.
- Install "Autodesk FBX SDK 2013.1"
Reference: objtoan8\Release\FBXNotes.txt
- Put fbxsdk-2013.1.dll in the same folder as obj2An8.exe
From: C:\Program Files\Autodesk\FBX\FbxSdk\2013.1\lib\vs2010\x64\fbxsdk-2013.1.dll

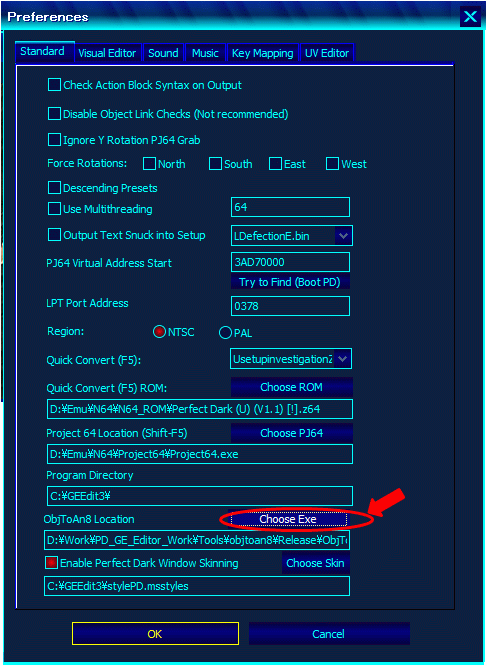
Set obj2An8.exe
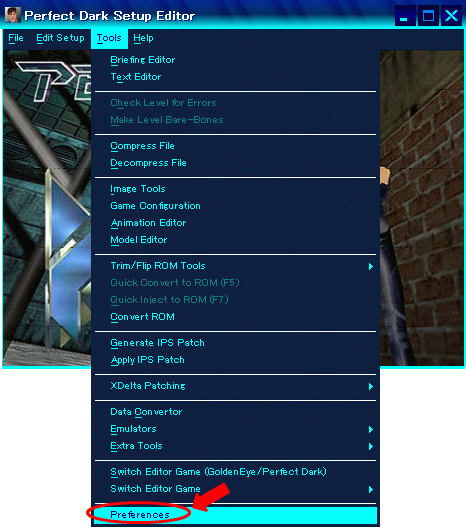
- Perfect Dark Setup Editor 3.0: Tools -> Preferences
- Click "Choose Exe" and choice "obj2An8.exe" (objtoan8\Release\obj2An8.exe)
Export Prerecorded camera
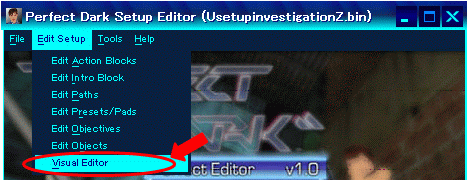
- Open Visual Editor (Perfect Dark Setup Editor 3.0: Edit Setup -> Visual Editor)
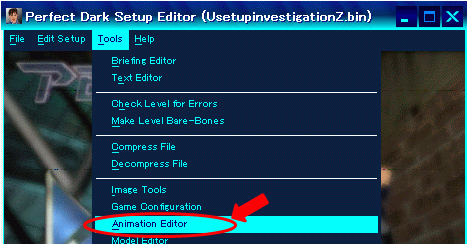
- Open Animation Editor (Tools -> Animation Editor)
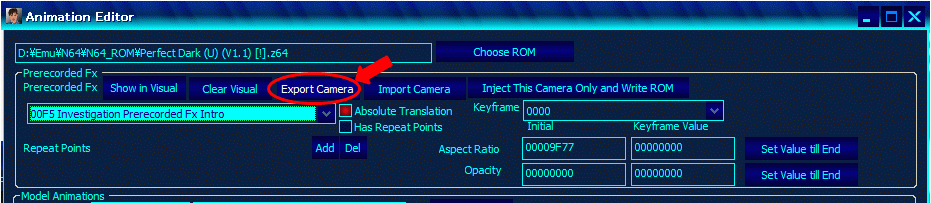
- Select camera, and click "Export Camera"
Export Full Level to .obj
- Open Visual Editor (Perfect Dark Setup Editor 3.0: Edit Setup -> Visual Editor)
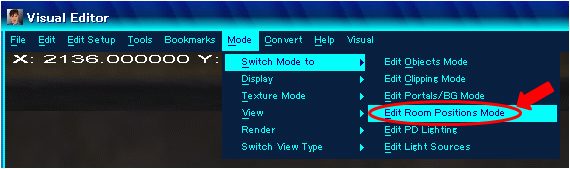
- Switch mode to Edit Room Positions Mode (Mode -> Switch Mode to -> Edit Room Positions Mode)
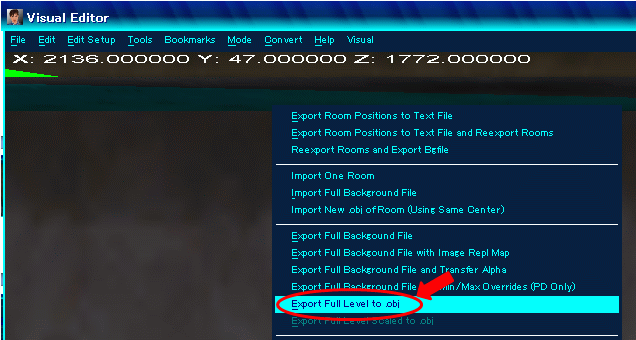
- Right click and click "Export Full Level to .obj"
Convert textures to be 24-bit (Autodesk Softimage Mod Tool supports)
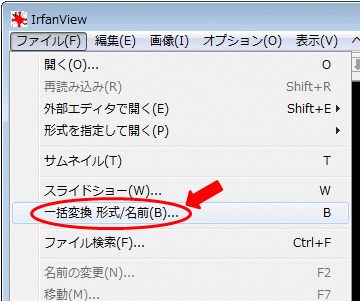
- Launch IrfanView
- Open "Bach Conversion/Rename" window (File -> Bach Conversion/Rename)
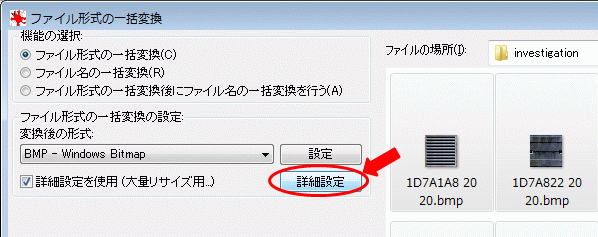
- Click "Advanced"
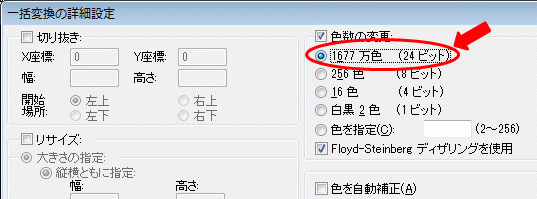
- Check CHENGE COLOR DEPTH and select 16.7 Million colors (24BPP)
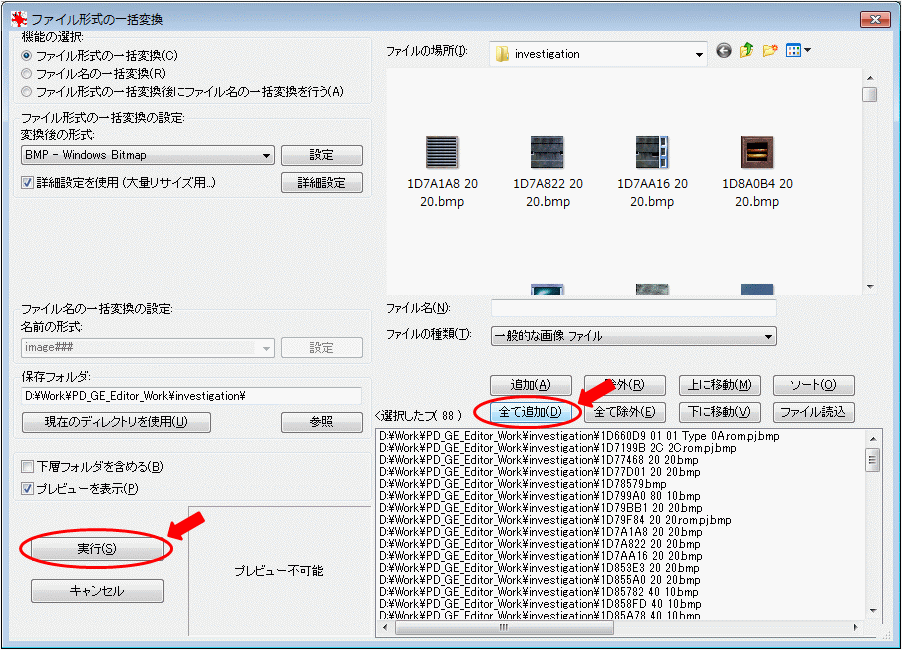
- Select exported bmp file and click "Add all", "Start Batch"
Import level and camera
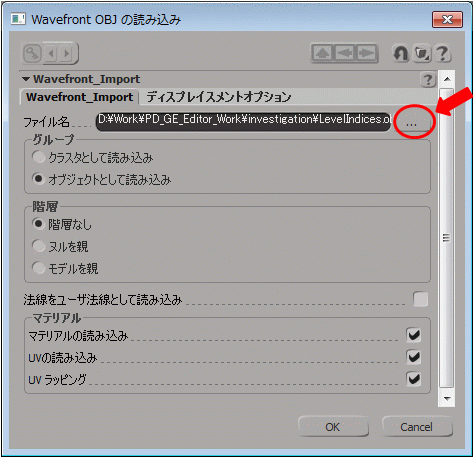
- Autodesk Softimage Mod Tool 7.5: File -> Import -> Obj File
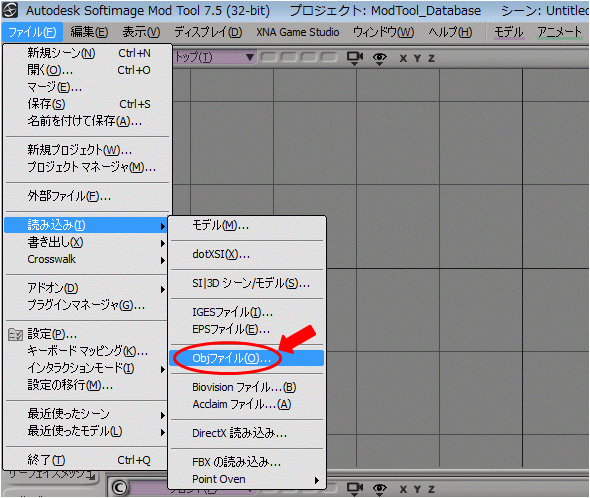
- Import level from obj
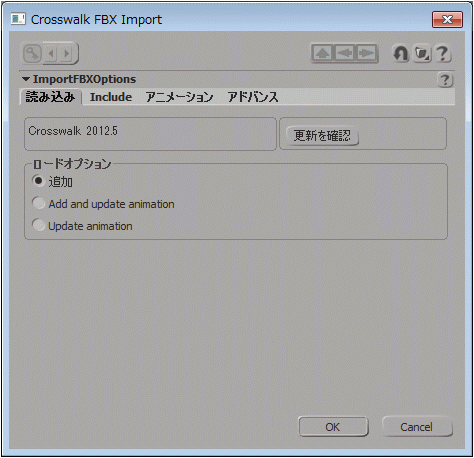
- File -> Import -> Import FBX
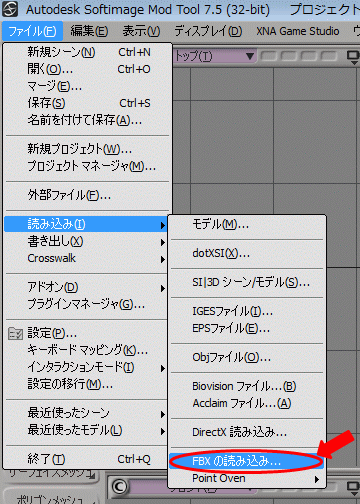
- Import Fbx of animation, default options
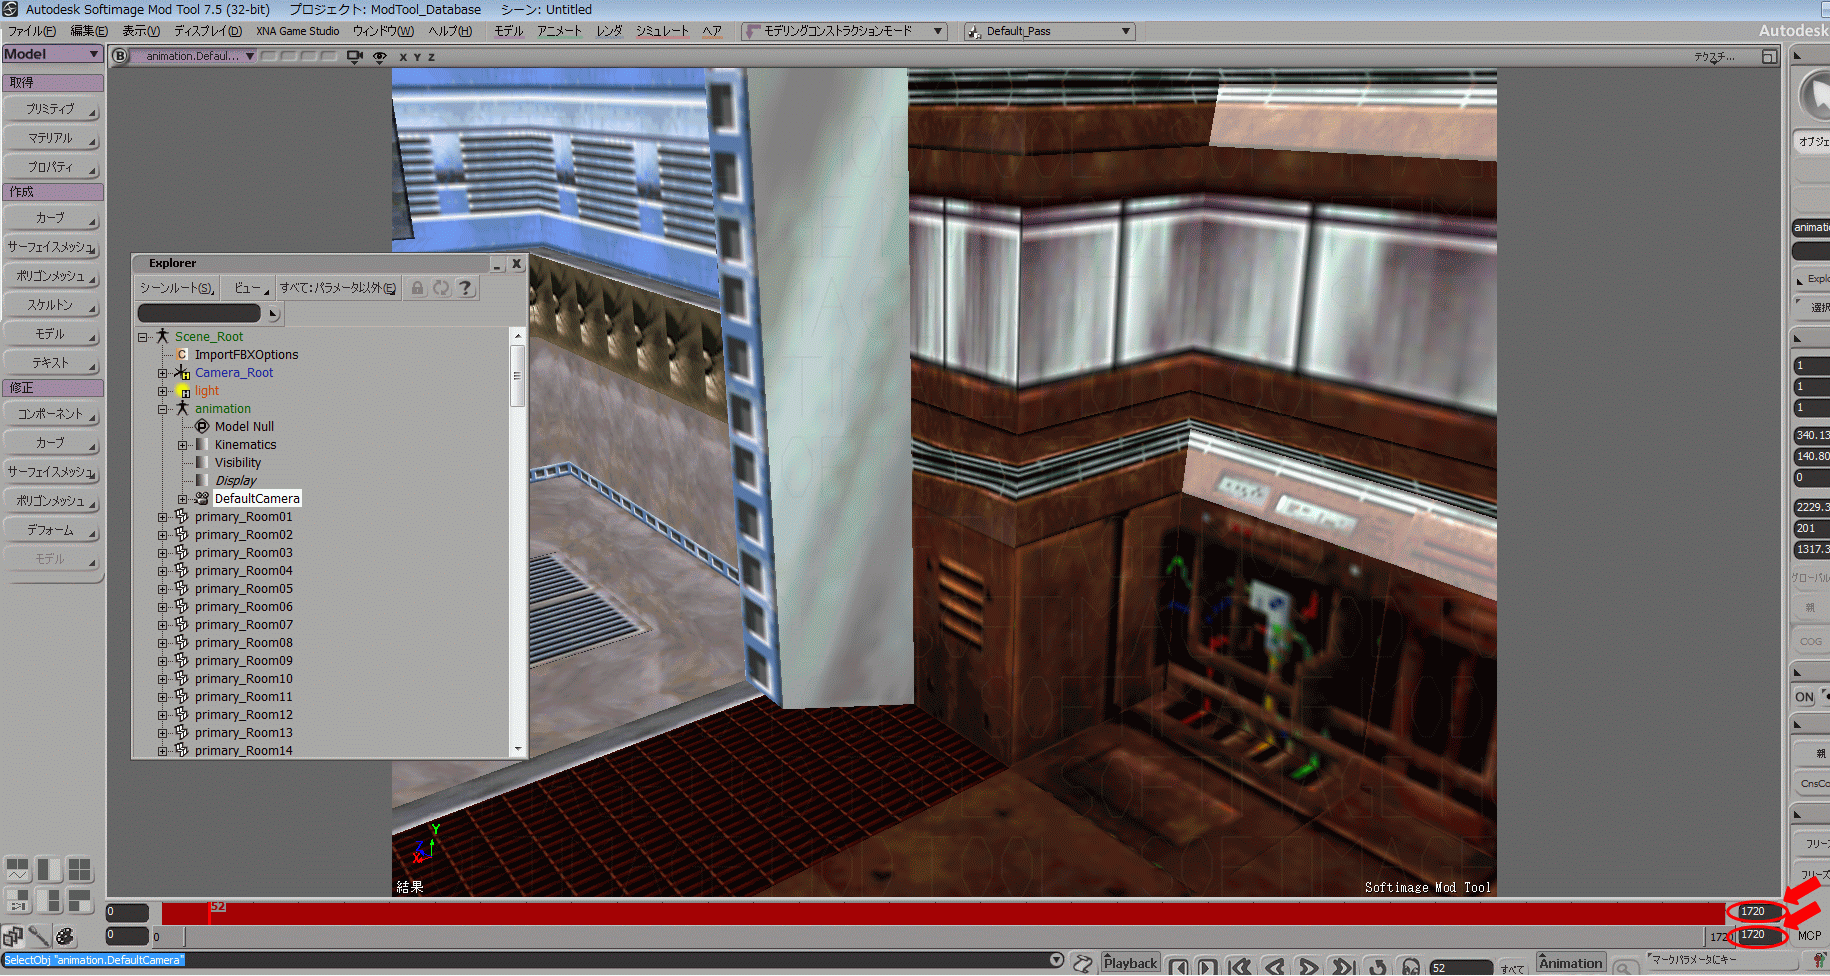
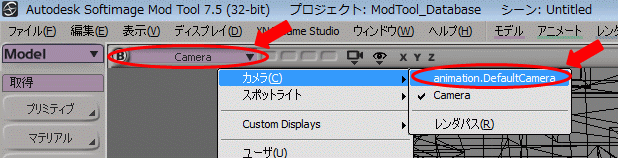
- Display only camera screen

- Change switch camera to "animation.DefaultCamera"
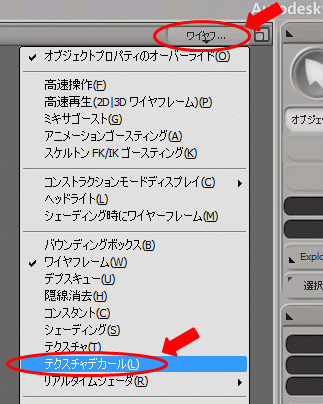
- Change display mode to "Textured Decal"
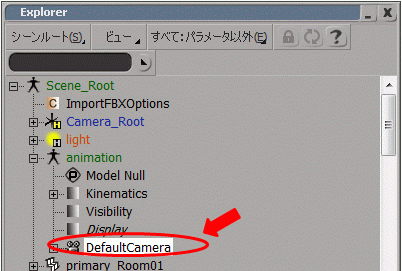
- Press "8" key (brings up Explorer window) and click "animation -> DefaultCamera"
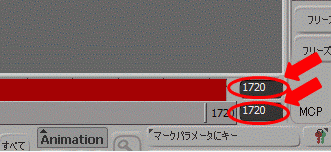
- Adjust the number of frames

Save Scene
It is convenient to save the current state to the scene file.
- File -> Save As
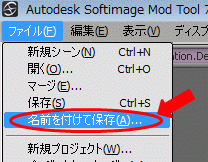
- Save the scene
Save Prerecorded Camera
- Press "8" key (brings up Explorer window)
- Delete rooms (primary_Room** / secondary_Room**)
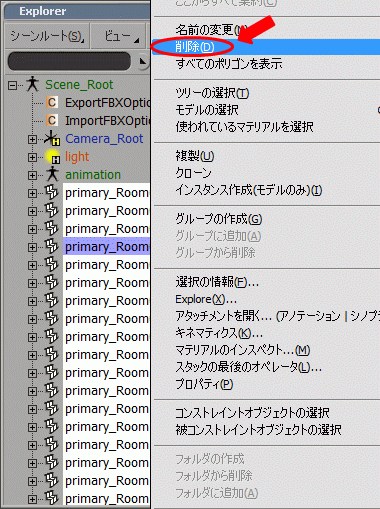
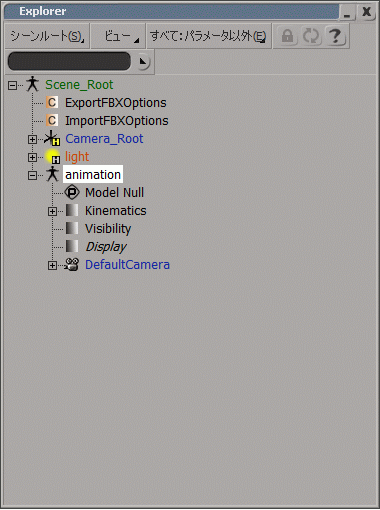
- Animation name does not change, "animation"
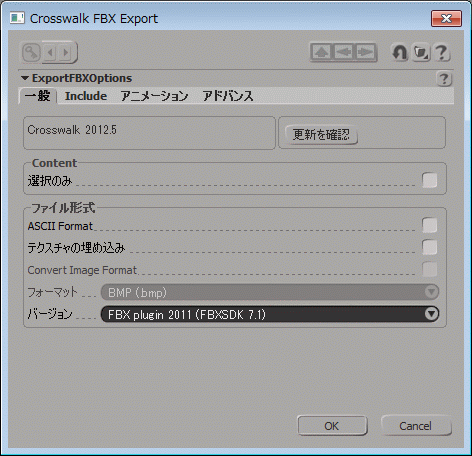
- File -> Export -> Export FBX
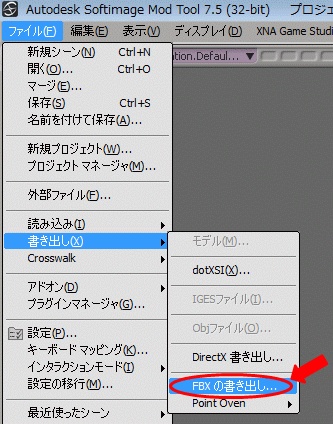
- Save Prerecorded Camera
Test Videos
-
Edit Prerecorded Fx Investigation Intro
-
N64PD dataDyne Facility Camera Test
-
N64PD dataDyne Facility Camera Test2
-
N64PD dataDyne Facility Camera Test3
-
N64PD dataDyne Facility Camera Test4
-
N64PD dataDyne Facility Camera Test5
-
new camera animation in XSI
-
N64PD dataDyne Facility Camera Test6